I started this post because the samba official docs were too general for my purposes and maybe this will help someone else.
This page explains how to set up a Raspberry Pi as a domain controller. This will not explain how to set up file shares. According to the docs you should not do that on a DC I will be using the DC for other projects like creating a cluster and creating an nfs share that authenticates against the DC on the cluster.
Install the Operating System
There are a million web sites out there explaining how to install Raspberry Pi OS. For my purposes to get them onto my network I do the following.
- Download the Raspberry Pi Imager from the Raspberry Pi foundation for your OS.
- Install Raspberry Pi Imager following the directions for your OS. I am using MacOS Ventura for this.
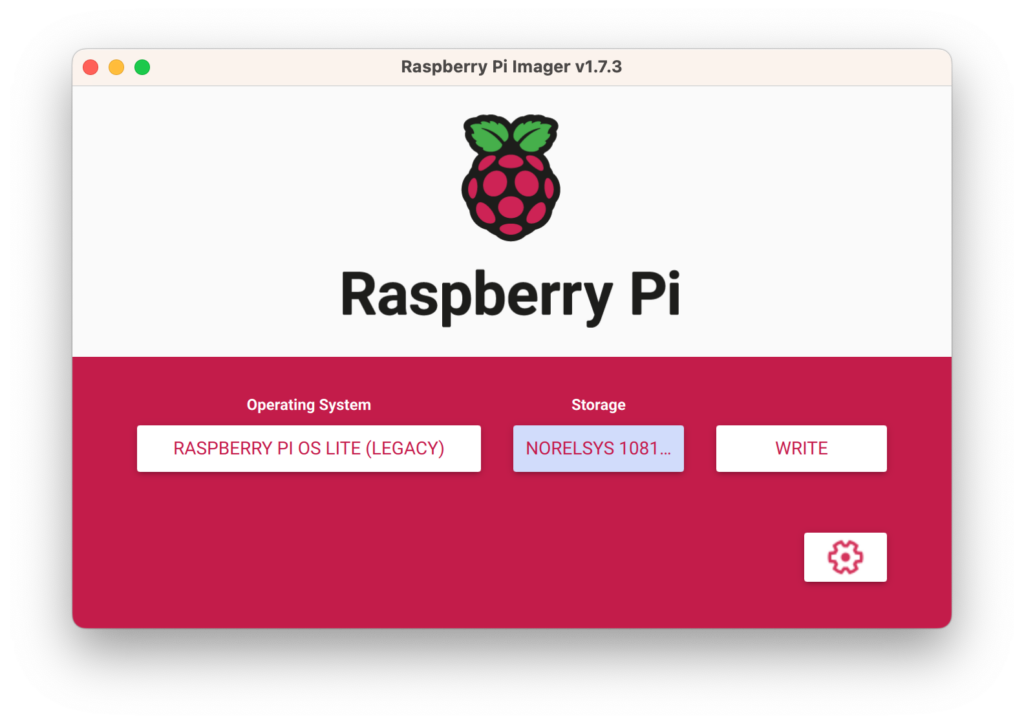
- Open Rasberry Pi Imager it should look like this..
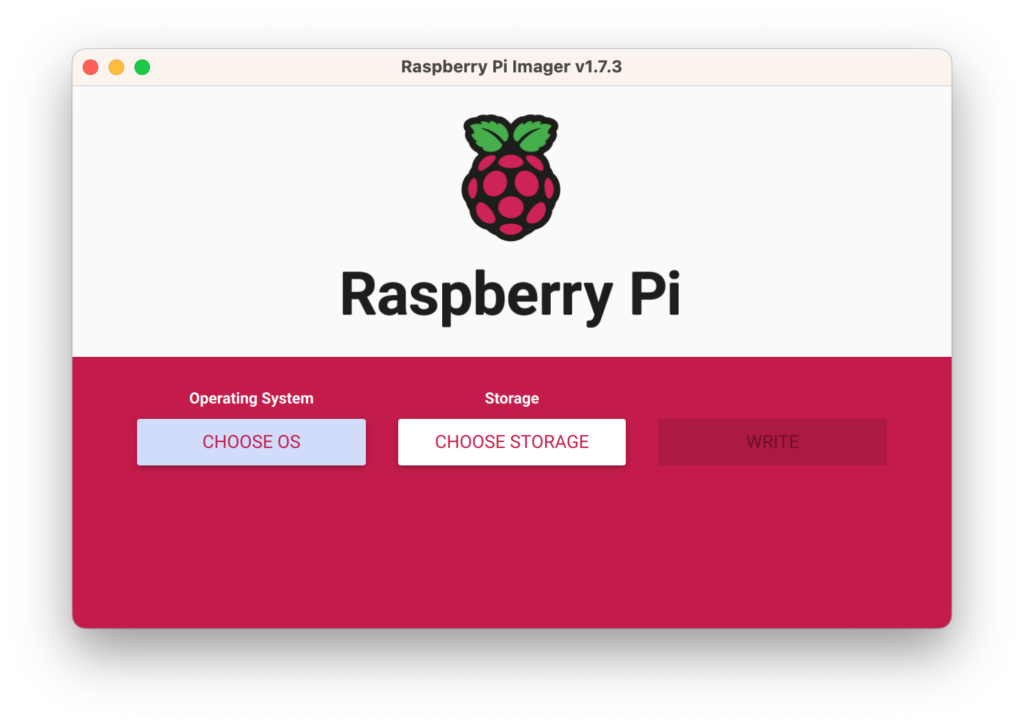
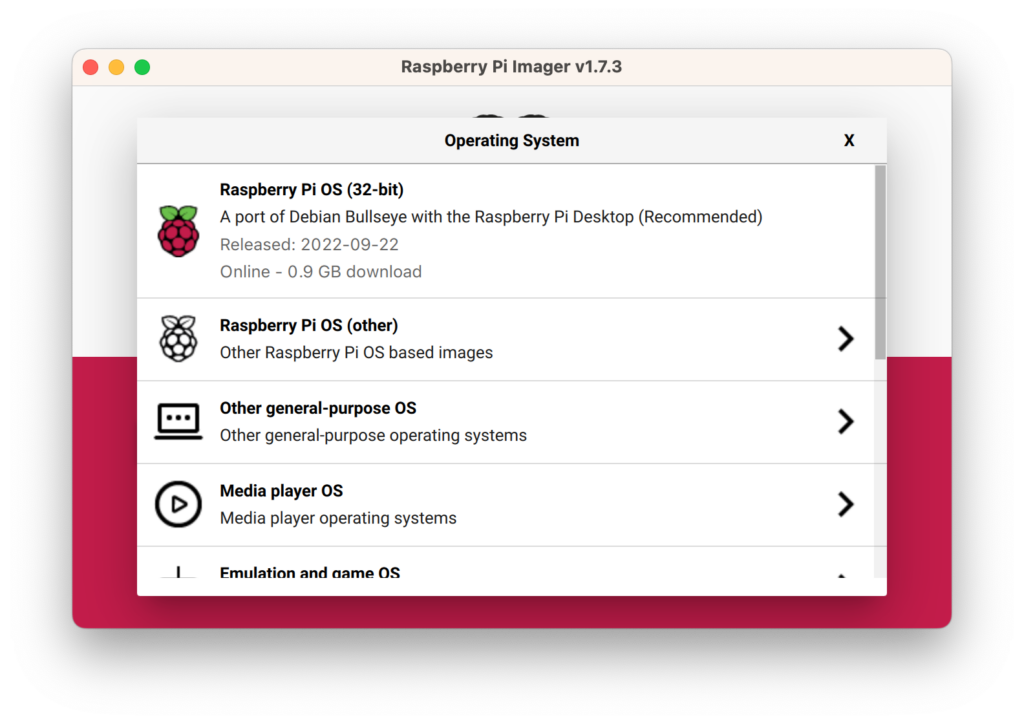
- Click the “CHOOSE OS” button. A window like the following will appear. According to documentation on the Raspberry Pi web site you should typically select the 32-bit version of the os. In this case you Want the 64 Bit OS because the 32-bit version of samba as a DC is broken. To find the 64 bit version click the “Raspberry Pi OS (other)” option. I am not using this in a production environment so this should be fine.
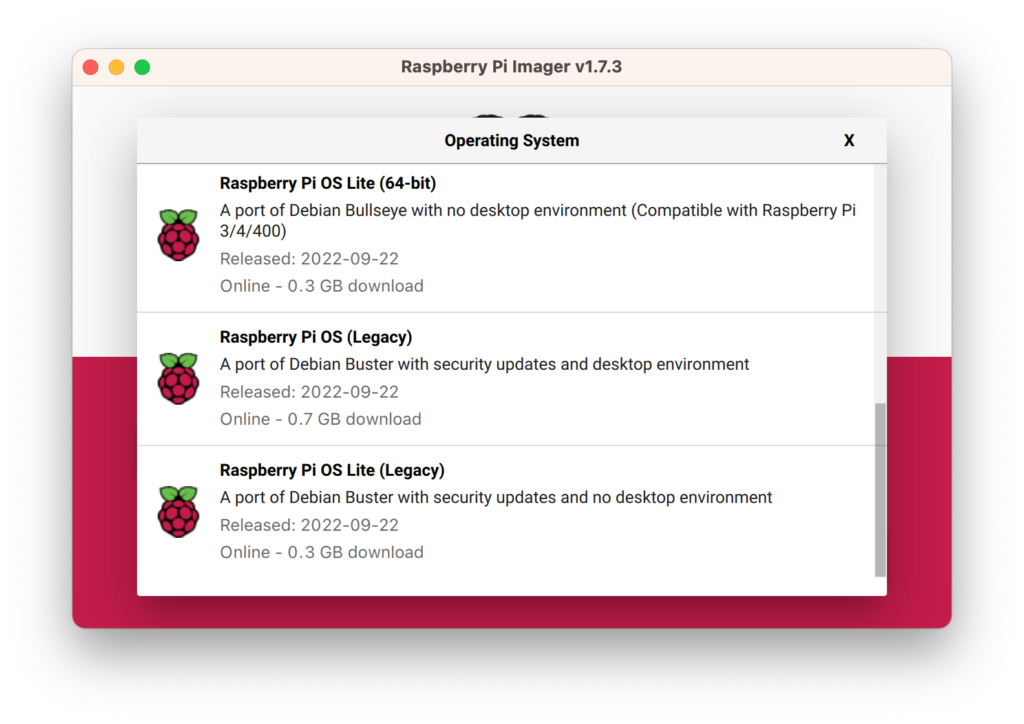
- Click “Raspberry Pi OS Lite (Legacy)” to choose the Buster version. As of right now the Bullseye version of Samba does not install correctly. I also choose the lite version because I do not need or want the desktop.
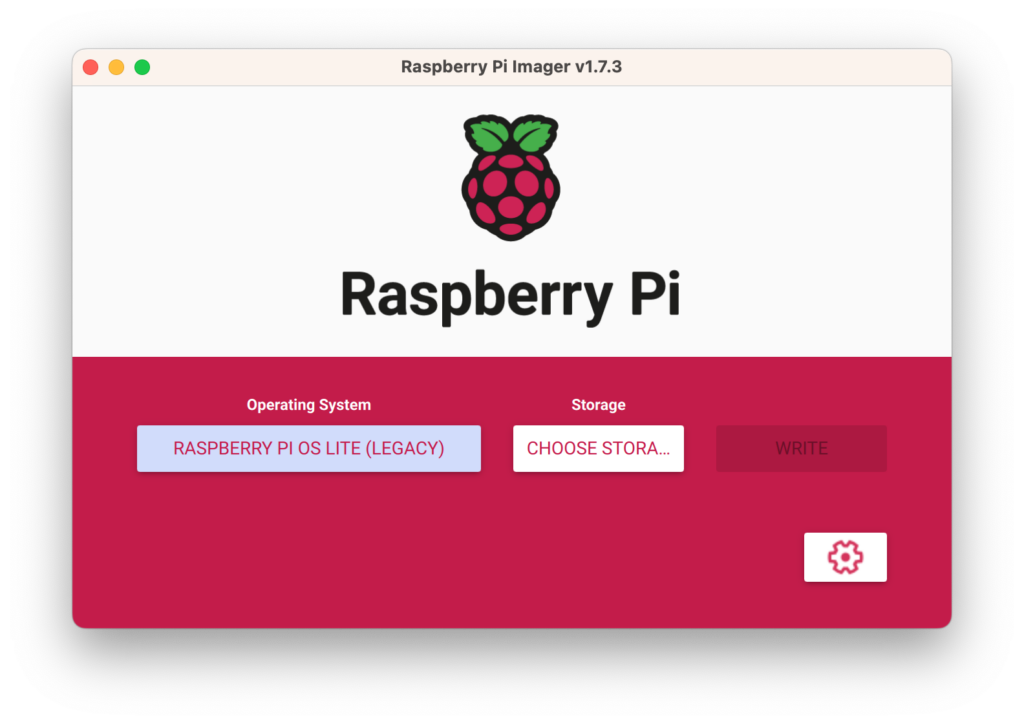
- Now that the OS has been selected click on the gear to set up the “Advanced Options”
The “Advanced Options” window will look like this
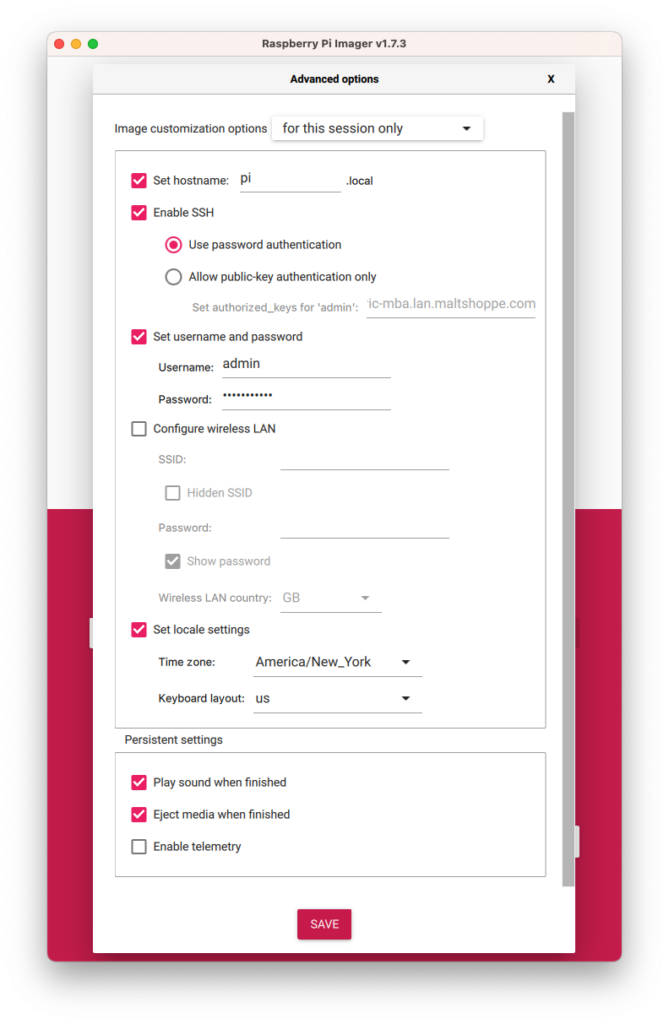
- I set the following Items
- Set hostname – it does not really matter we will update this later anyway
- Enable SSH – I run the pi headless (no monitor) and ssh into it so this is require if you are doing the same. I use password authentication for now.
- Set username and password – set a username and password.
- Configure wireless LAN – I don’t set this but you can if you feel inclined to do so.
- Set local settings – I set this to my local time zone. You should do the same.
- Play Sound when finished – Checked
- Eject Media when finished – Checked
Enable telemetry – Not checked
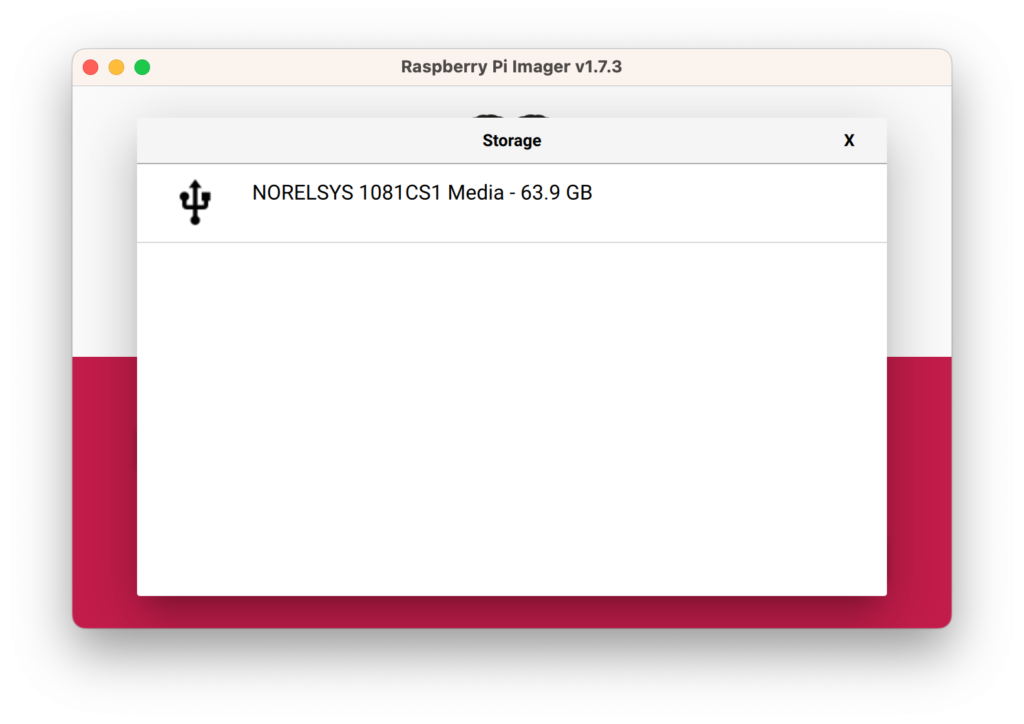
- Now click the “CHOOSE STORAGE” button.
- In the “Storage” window select the sim card that you want to write the OS to. In this case it is “NORELSYS 1081CS1 Media = 63.9 GB”
- The “WRITE” button will be enabled now. Click it.
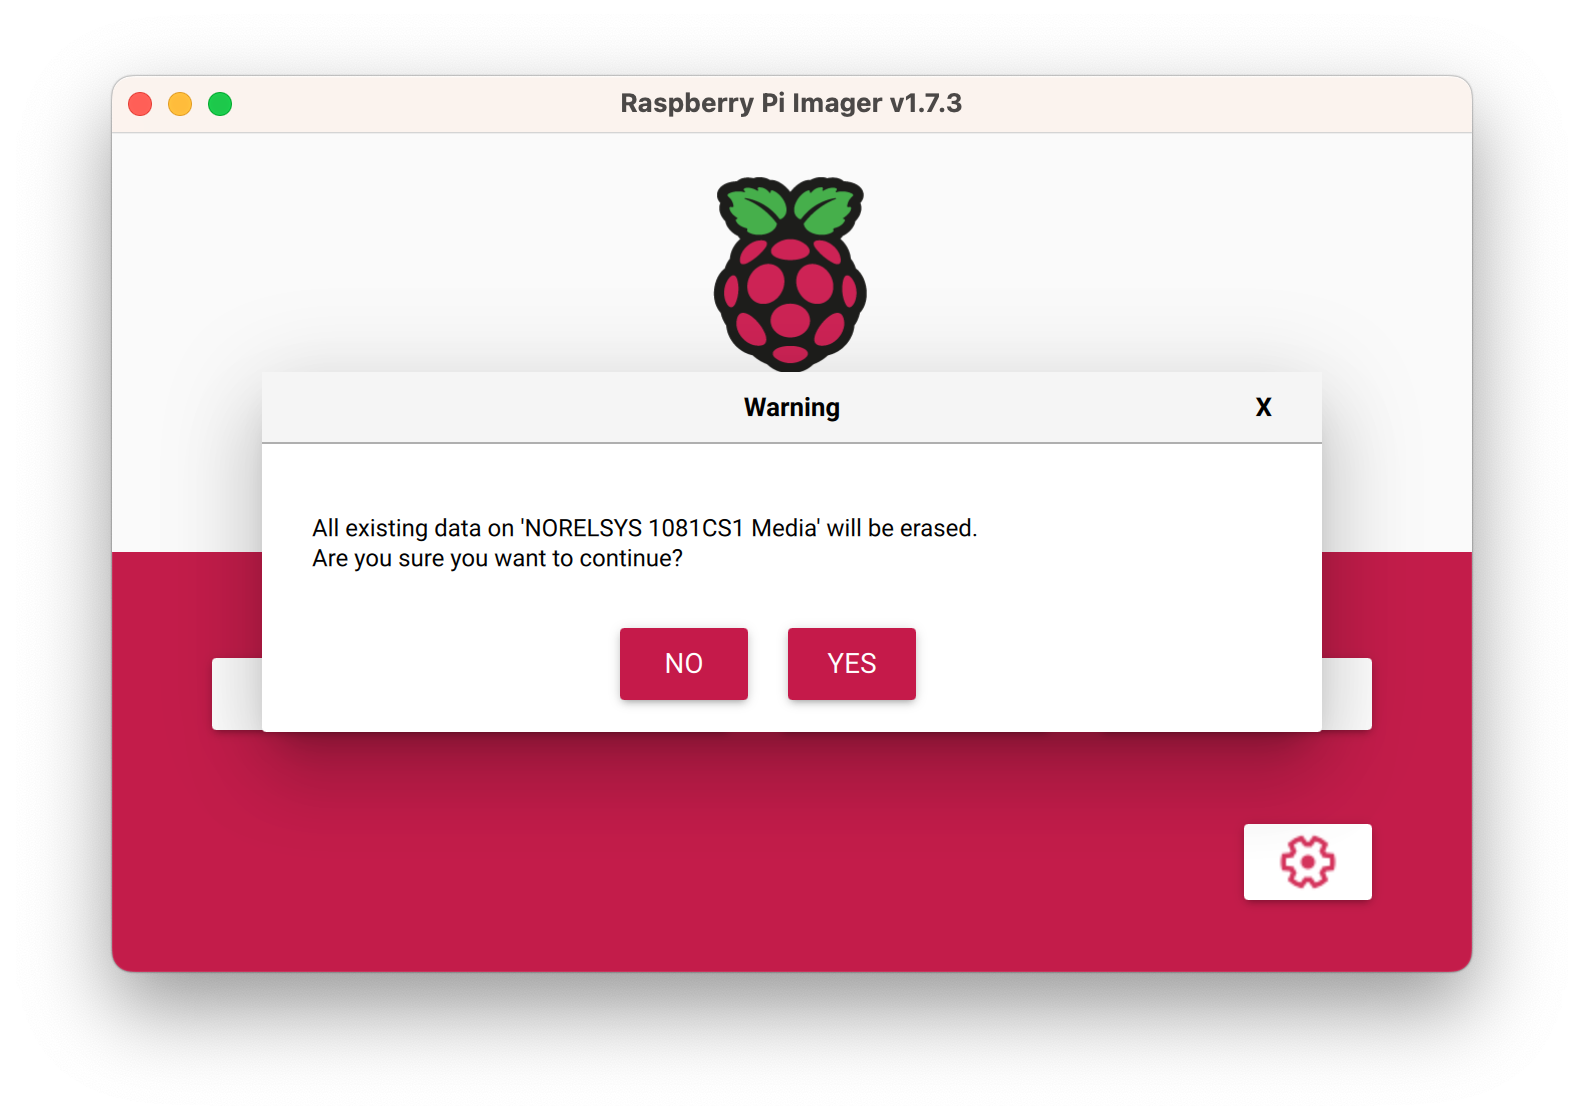
- A warning will pop up telling you that you are about to erase the data on the media. If you are comfortable with what it is telling you click “YES.”
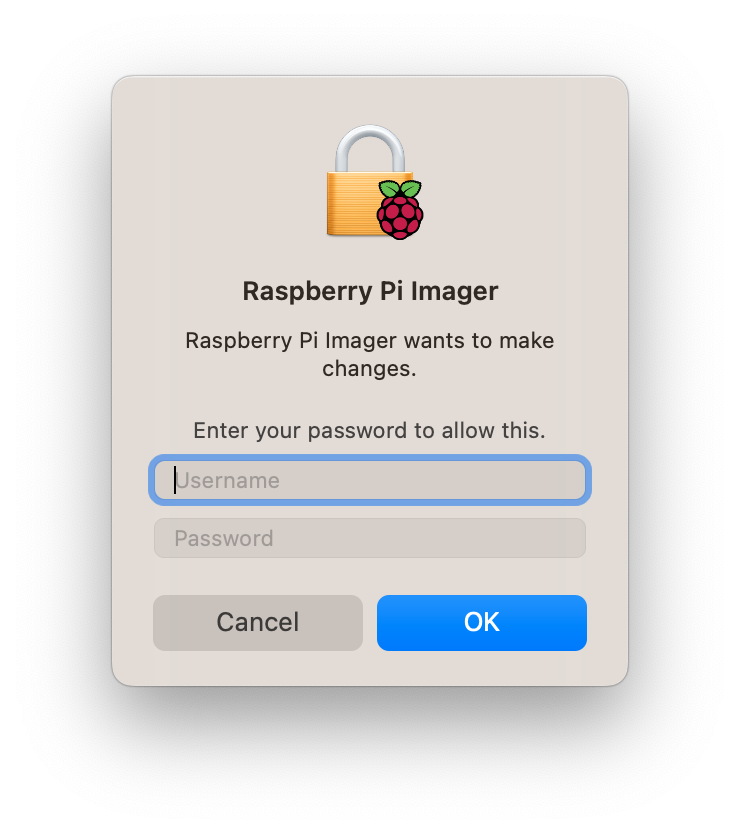
- On MacOS a dialog pops up to enter your password. I assume that this has to do with the fact that you are modifying a disk. Enter your username, password and click OK
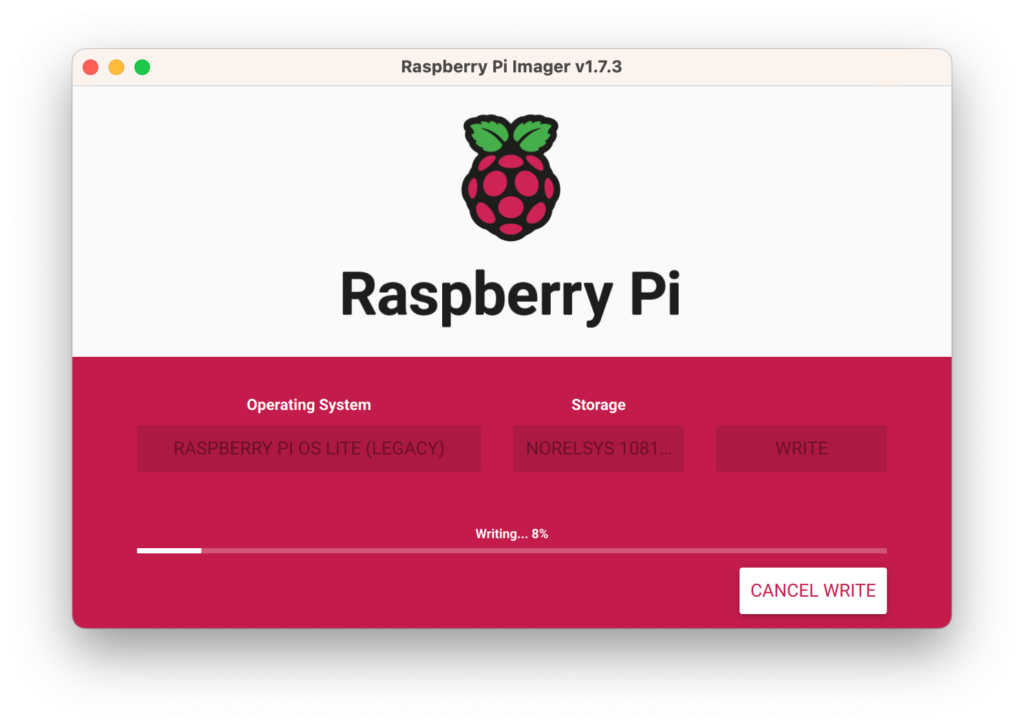
- The imager will write your OS. This will take a bit of time and varies depending on how fast your SD card is.
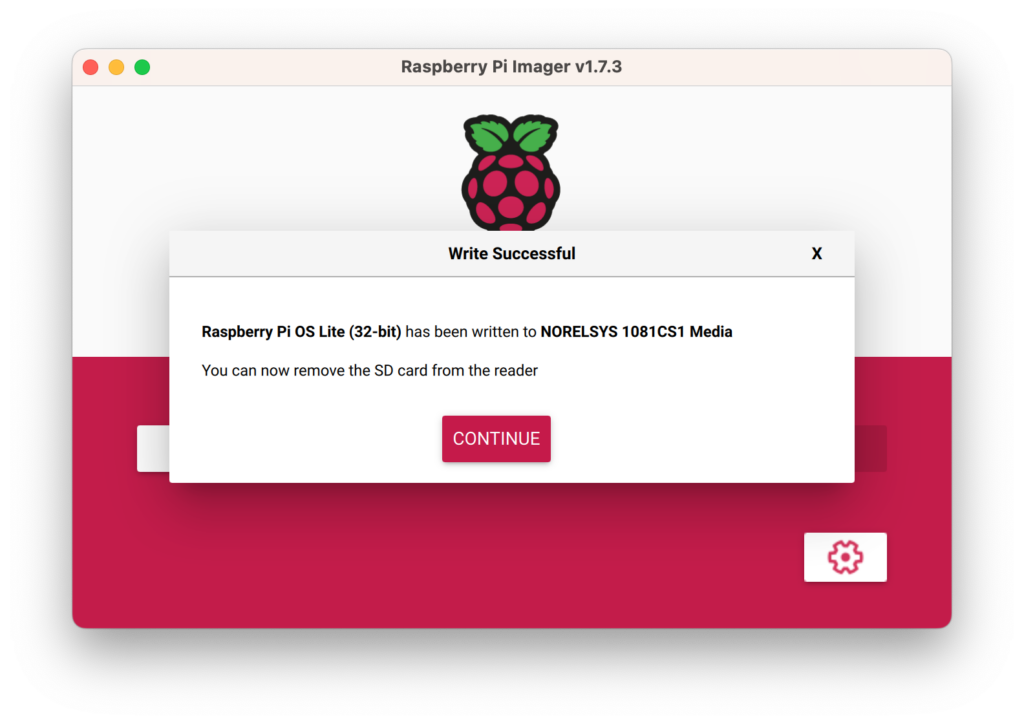
- If successful you should see something like the following. Click “Continue” and close the Imager software. We are done with it right now.
- Load the SD card into your Pi and turn it on.
Setting A Static IP
The next step varies a bit so I won’t go into details. You need to configure your Pi to use the same IP. The DC acts as a DNS server to the clients so it can’t be moving around on your network. I think that the best way to do this is through the settings in my router.
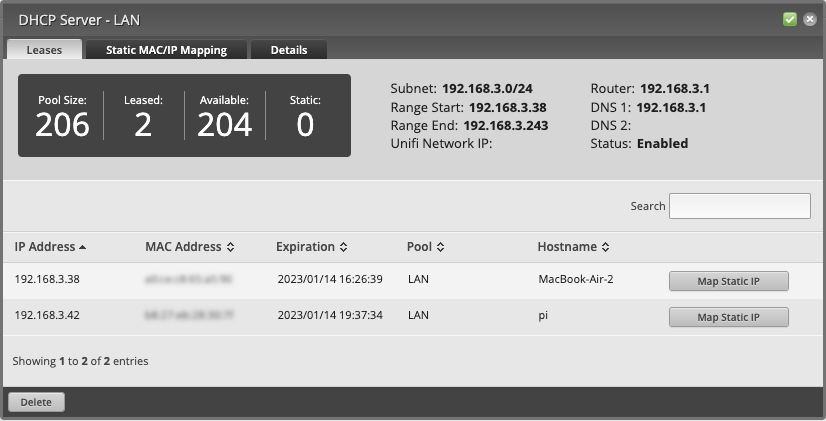
First I use my Edgerouter X router to determine what the initial IP is of the Pi and set it to a static IP on the router. I do this by getting the list of IPs being leased on the router. On my router it looks like this and you can see the leased IPs. There are only two and it is pretty easy to spot the Pi. I would click “Map Static IP”
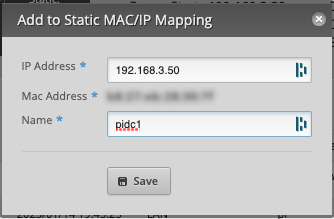
Then I set the static IP. Here I set it to 192.168.3.50. If you changed the IP you will need to reboot the Pi so it updates its IP.
Next it is also important to set up how DHCP will be handled on the router. You will need to configure it so that the DC will be a DNS server along with something like google. Note how I have the DNS 1 configured to what will be the Domain controller and the second DNS to google. Also set the domain here. Doing this will have the pis set up their network configs automatically.

Update The Pi
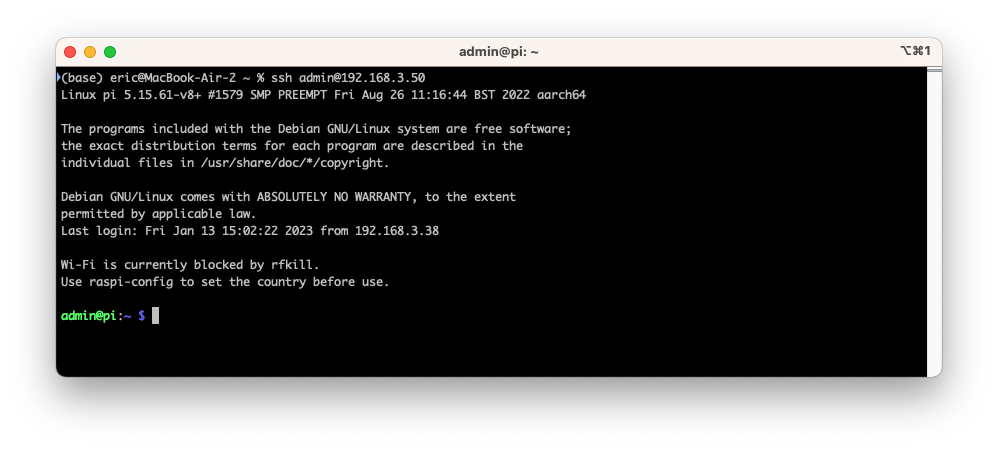
- ssh into the Pi that will be the DC controller using your favorite terminal. I like iTerm2. The first time you log in you will get warnings about new keys. Accept them.
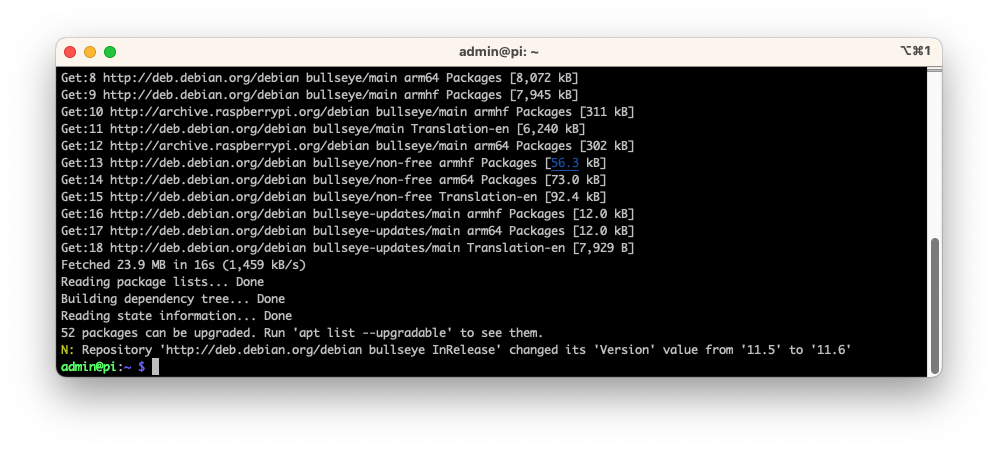
- Now update your package source list by running…
$sudo apt update- A bunch of text will scroll by and look like this when done
- Now upgrade (this will take some time) the system typing
$sudo apt upgrade -y- I like to install vim for editing text files. You can use whatever editor you like. Nano included in Rasbpian OS
$sudo apt install vim -yInitial Config
To make future things easier I like to configure some basic settings using the raspi-config utility
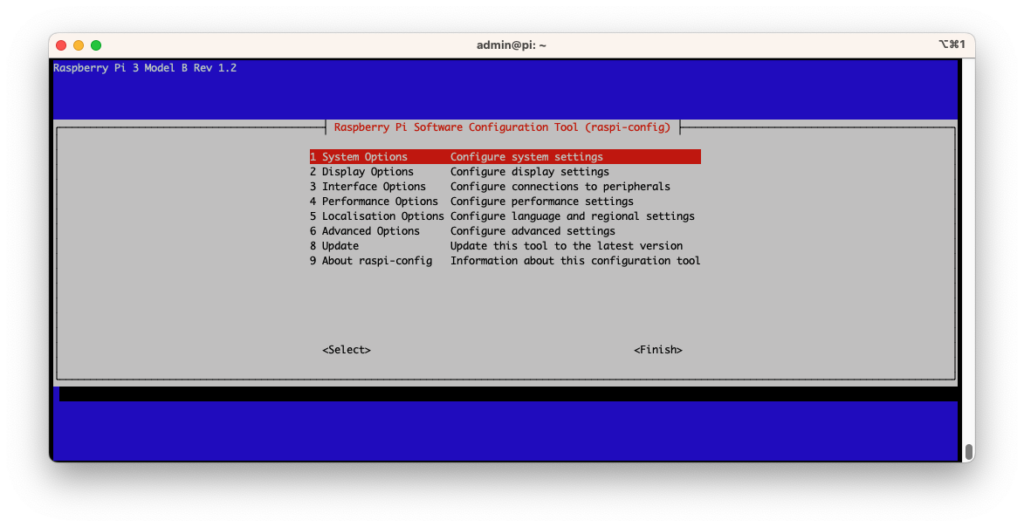
- Start raspi-config
$sudo raspi-config- In the raspi-config main menu select “1 – System Options”
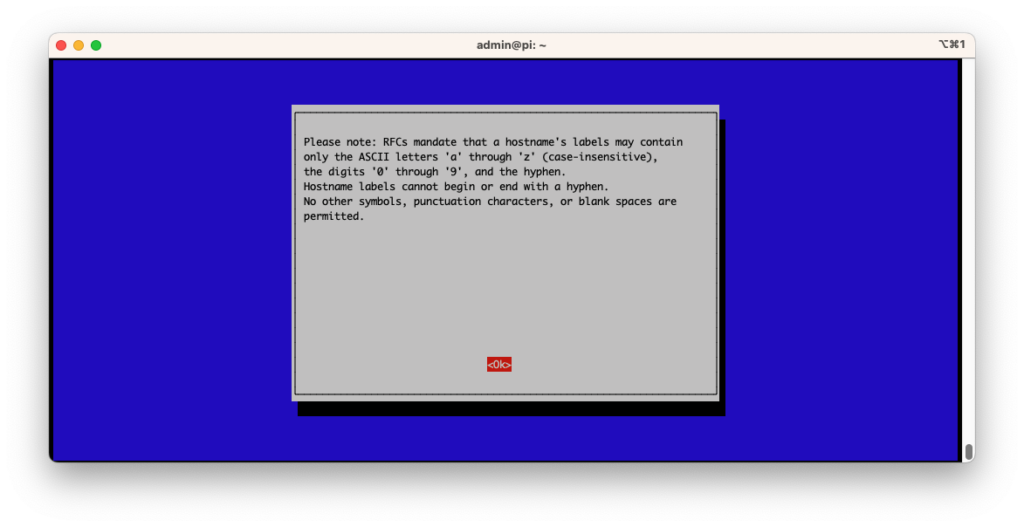
- You will get a note about valid system names. Select the only option “OK”
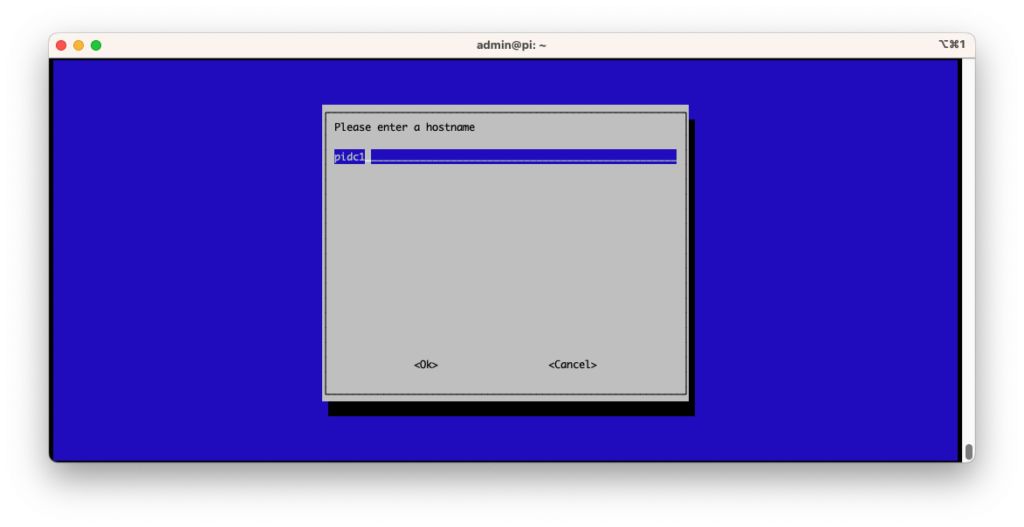
- Now enter the name of the system. In this case “pidc1”
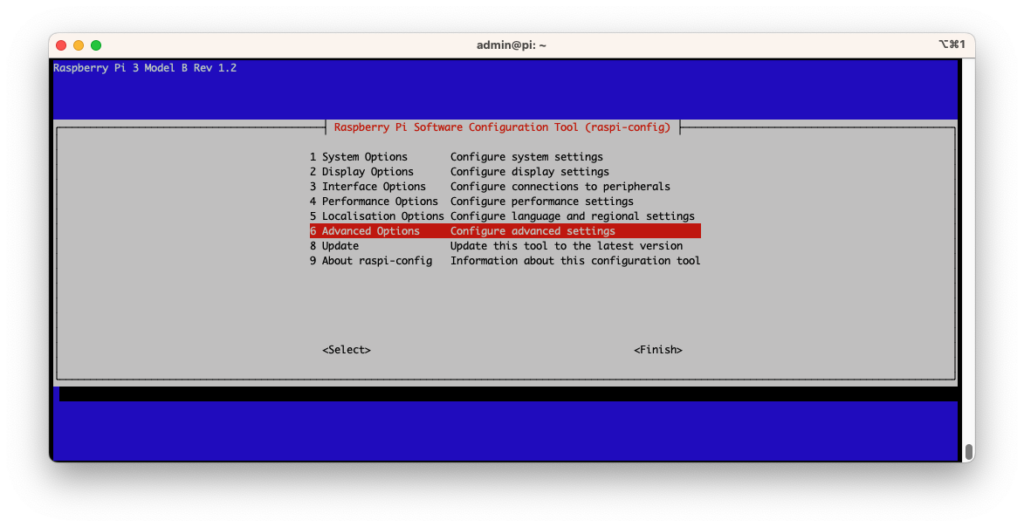
- Now back in the main menu select “Advanced Options”
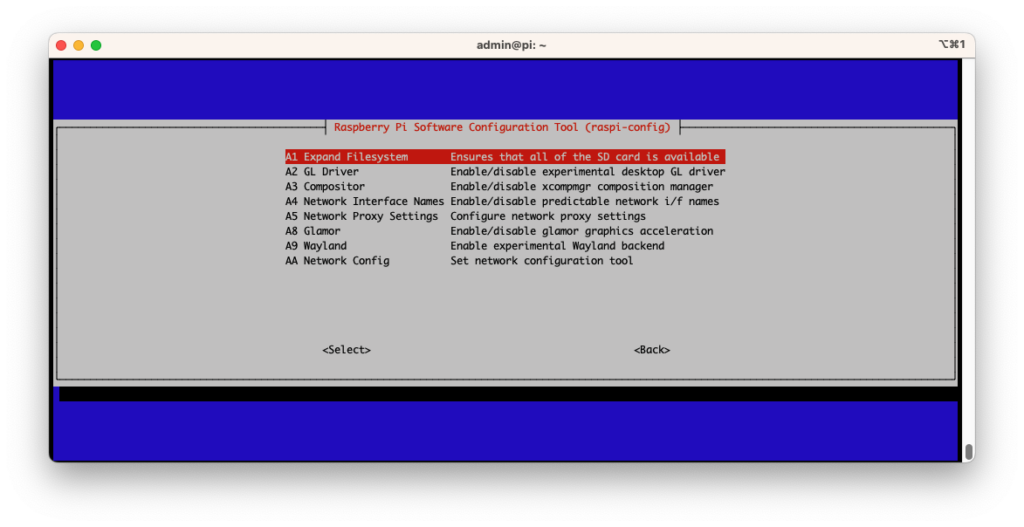
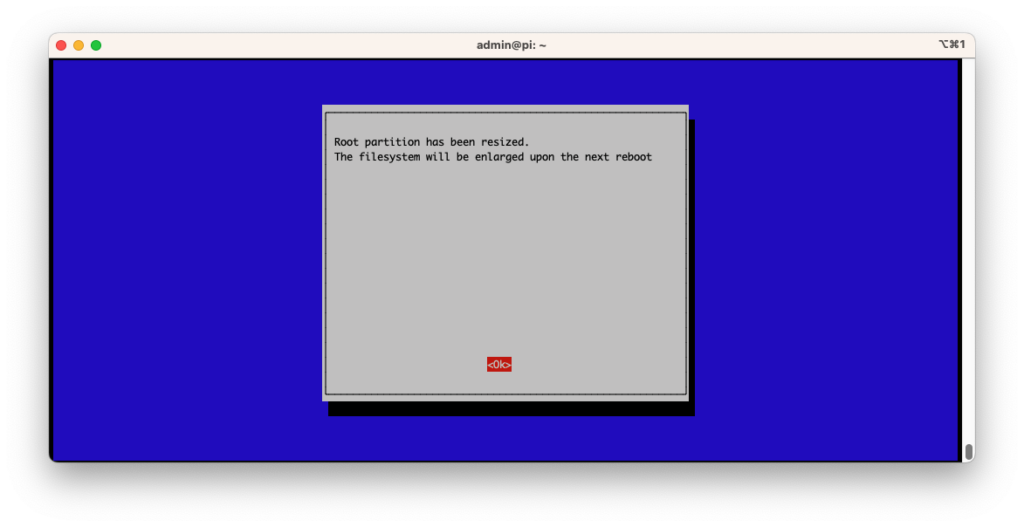
- Select “Expand File System”
- A bunch of stuff will happen and then this menu will pop up. Select “OK”
Update Other Stuff
There are still a couple of other
- Open /etc/hosts
$sudo vim /etc/hosts- Verify that the
/etc/hostsfile on the DC correctly resolves the fully-qualified domain name (FQDN) and short host name to the LAN IP address of the DC.
127.0.0.1 localhost
192.168.3.50 pidc1.lan.maltshoppe.com pidc1
#127.0.1.1 pidc1 – make sure to comment this out
- Open /etc/resolve.conf to confirm that the DNS servers and search parameters are set correctly.
$sudo vim /etc/resolve.conf- Confirm that the values are correct. You should see the name of the domain and the DNS servers listed. The first one should be the IP of this machine; The domain controller. Do not attempt to edit this file. You have to update these parameters with nmtui or they will be overwritten when you reboot the Pi.
# Generated by resolvconf
search lan.maltshoppe.com
nameserver 192.168.3.50
nameserver 192.168.3.1
Instal Samba and Other Related Packages
- Install samba and all the required packages with the following command
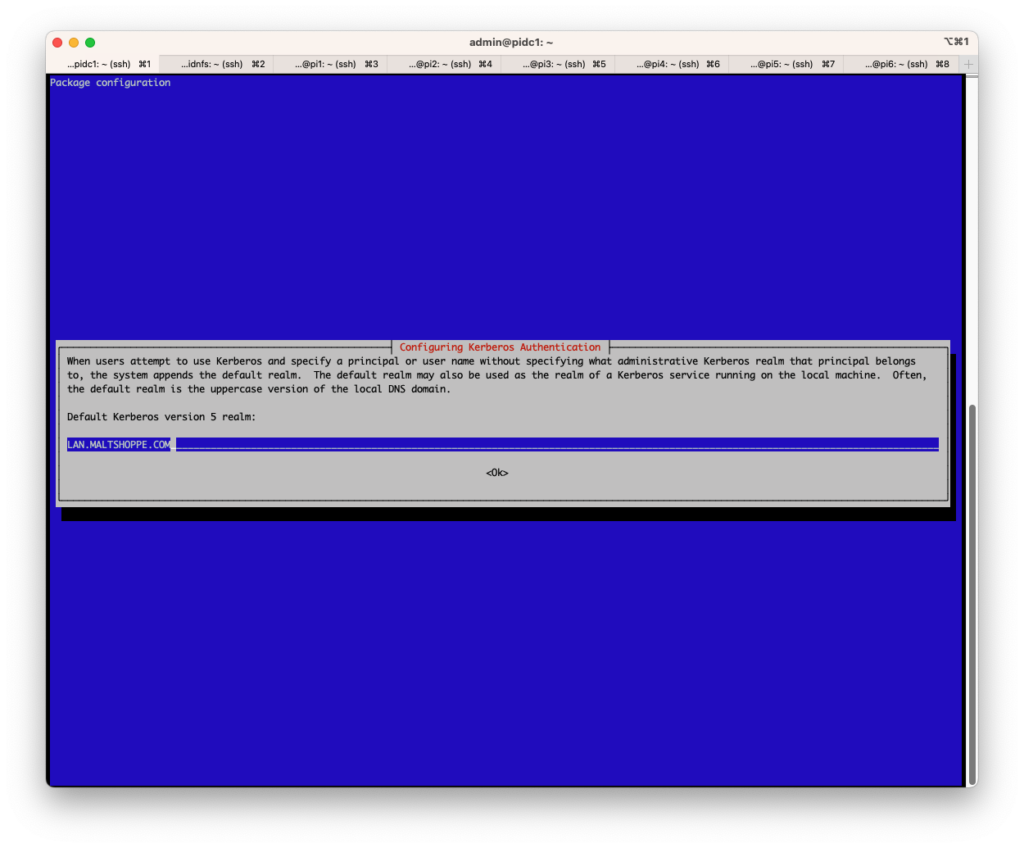
sudo apt-get install acl attr samba smbclient samba-dsdb-modules samba-vfs-modules winbind libpam-winbind libnss-winbind krb5-config krb5-user dnsutils ntp -y- You will be presented with the following. It should have your realm already populated. Just select OK.
Provision Active Directory in Non-Interactive Mode
- First delete the samba config file.
sudo rm /etc/samba/smb.conf- Also update the /etc/krb5.conf file
sudo vim /etc/krb5.conf- To look like this
[libdefaults]
        default_realm = LAN.MALTSHOPPE.COM
        dns_lookup_realm = false
        dns_lookup_kdc = true

[realms]
LAN.MALTSHOPPE.COM = {
        default_domain = lan.maltshoppe.com
}

[domain_realm]
dc1pi = LAN.MALTSHOPPE.COM- Now provision the active directory.
Note: that you should change <PASSWORD> to a strong password
sudo samba-tool domain provision --server-role=dc --use-rfc2307 --dns-backend=SAMBA_INTERNAL --realm=LAN.MALTSHOPPE.COM --domain=LAN --adminpass=<PASSWORD>Enable and Start the Services
When starting the samba service I was having this problem. Run these commands to enable the samba dc services. Then reboot the Pi.
sudo systemctl disable nmbd
sudo systemctl disable smbd
sudo systemctl unmask samba-ad-dc
sudo systemctl enable samba-ad-dc
samba
Testing
- After Rebooting the Pi log back in and run the following command to test the file server. The samba documentation says using the DC as a file server is a bad idea so I will not use this feature but we might as well check that were are getting the desired output.
$smbclient -L localhost -N
Anonymous login successful

	Sharename       Type      Comment
	---------       ----      -------
	sysvol          Disk
	netlogon        Disk
	IPC$            IPC       IPC Service (Samba 4.13.13-Debian)
SMB1 disabled -- no workgroup available- Test authentication by running the following command
$smbclient //localhost/netlogon -UAdministrator -c 'ls'
Enter LAN\Administrator's password:
  .                                   D        0  Sun Jan 15 11:06:39 2023
  ..                                  D        0  Sun Jan 15 11:07:16 2023

61092524 blocks of size 1024. 56825776 blocks available- Verify the DNS is working as expected
$host -t SRV _ldap._tcp.lan.maltshoppe.com
_ldap._tcp.lan.maltshoppe.com has SRV record 0 100 389 pidc1.lan.maltshoppe.com.
$host -t SRV _kerberos._tcp.lan.maltshoppe.com
_kerberos._tcp.lan.maltshoppe.com has SRV record 0 100 88 pidc1.lan.maltshoppe.com.
$host -t A  dc1pi.lan.maltshoppe.com
Host dc1pi.lan.maltshoppe.com not found: 3(NXDOMAIN)
admin@pidc1:~ $ smbclient //localhost/netlogon -UAdministrator -c 'ls'
Congratulations!
If everything above worked you have made it! There is more to do but I will cover that in other tutorials that I will link here.